Hazard Warning Planner
Keep Your Workplace Safe with a Hazard Warning Planner
Workplace safety is a top priority for any business, big or small. Ensuring that hazards are clearly marked can prevent accidents and protect your team from unnecessary risks. That’s where a tailored safety signage tool comes in handy. By mapping out potential dangers and suggesting the right warnings, you can create a secure environment without the guesswork.
Why Custom Signage Planning Matters
Every workplace is unique. A factory floor with heavy machinery has different needs compared to an office with minimal physical risks. Using a digital solution to assess your space—like identifying high-traffic areas or zones prone to spills—ensures that warning signs are placed strategically. This isn’t just about compliance; it’s about fostering a culture of care. Imagine the peace of mind knowing that a fall risk near a stairwell is clearly marked for all to see.
Practical Steps to Safety
Start by evaluating your layout and pinpointing risks. Tools designed for custom safety plans can guide you through this, offering insights on everything from colour-coded signs to inspection schedules. With the right approach, safeguarding your space becomes second nature, letting you focus on what you do best.
FAQs
How does the Hazard Warning Planner determine sign placement?
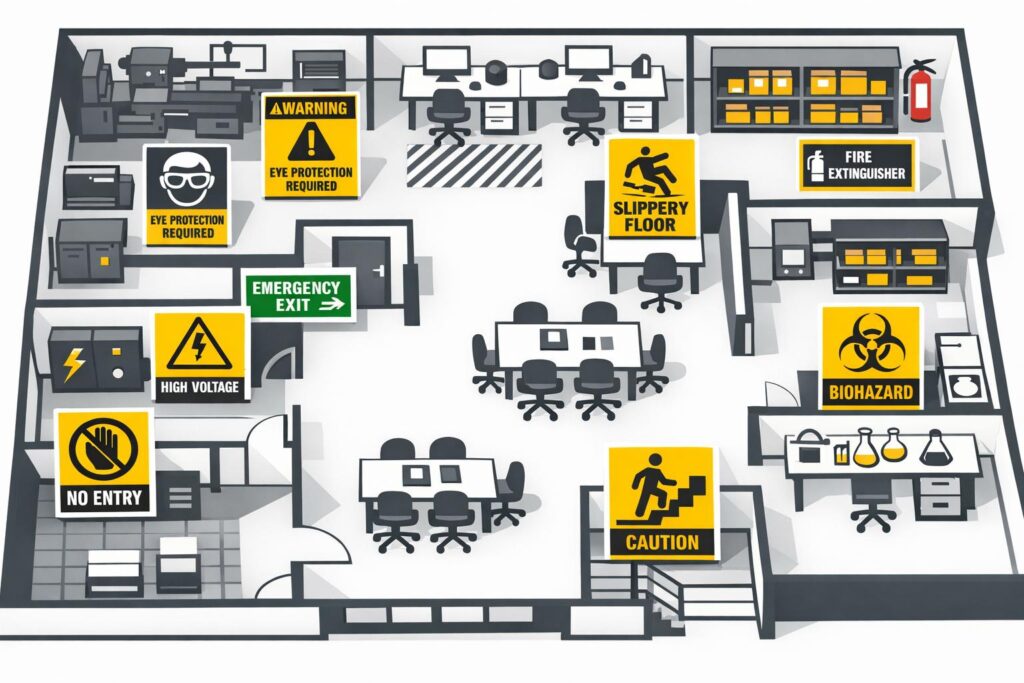
Our tool uses a smart logic system that cross-references your workplace layout, hazard types, and employee movement patterns. For instance, if you’ve got a busy machinery zone on the ground floor, it’ll prioritise visible warning signs at entry points and high-traffic spots. It’s all about maximising safety where it’s needed most, based on real-world scenarios we’ve studied.
Can I customise the signage recommendations?
Absolutely! While the tool provides a solid starting point with suggested sign types—like colour-coded warnings for fire risks or symbols for chemical hazards—you can tweak the output to match your specific needs. Maybe you’ve got a unique setup or branding guidelines; just adjust the plan manually after generating it. We’re here to guide, not dictate.
Is this tool suitable for small businesses?
Definitely. Whether you’re running a small workshop or a sprawling warehouse, the Hazard Warning Planner scales to fit. It’s designed to be user-friendly for anyone, no matter the size of your operation. You’ll get clear, actionable advice that doesn’t require a safety expert on staff—just input your details, and you’re good to go.
You may also be interested in
FAQs About Workplace Safety Signs in Australia
AS 1319 sign types, placement, materials and maintenance for workplace safety and WHS compliance in Australia.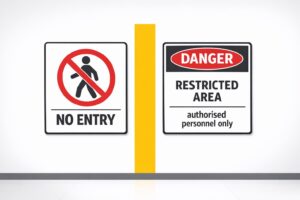
Restricted Area Signs vs. No Entry Signs
Compare No Entry and Restricted Area signs in Australian workplaces — meanings, design differences and AS 1319 compliance.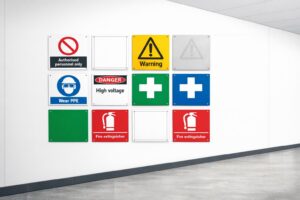
How to Spot Workplace Signage Gaps
Audit your workplace for missing, faded or non‑compliant signs under AS 1319 to reduce incidents and avoid WHS fines.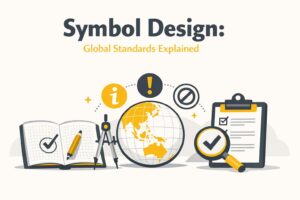
Symbol Design: Global Standards Explained
Explains ISO 7010 and ISO 3864: standard symbols, colours and sizing for clear, language‑free safety signage and AU compliance.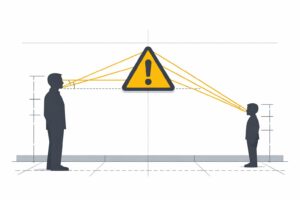
Hazard Sign Visibility Planner
Plan hazard sign placement for max visibility with our free tool. Ensure safety by finding the best spot, height, and angle—try it now!