Workplace Hazard Signage Planner
Ensure Workplace Safety with a Hazard Signage Planner
Running a safe workplace isn’t just about ticking boxes; it’s about protecting your team and staying on the right side of regulations. That’s where a tool like our Workplace Hazard Signage Planner comes in handy. Whether you manage a bustling warehouse, a busy construction site, or a quiet office, identifying potential risks and addressing them with the right safety signs is crucial.
Why Safety Signage Matters
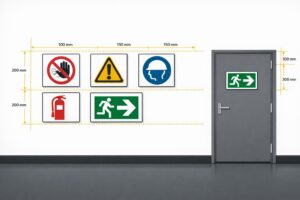
Hazards lurk in every environment—slippery floors, electrical equipment, or chemical storage areas can all pose threats if not clearly marked. A well-thought-out signage strategy ensures everyone knows what to watch out for and where to go in an emergency. Our free planner simplifies this by mapping out exactly what you need, from prohibition signs to emergency markers, based on your specific setup. No more guessing or overbuying.
Compliance Made Simple
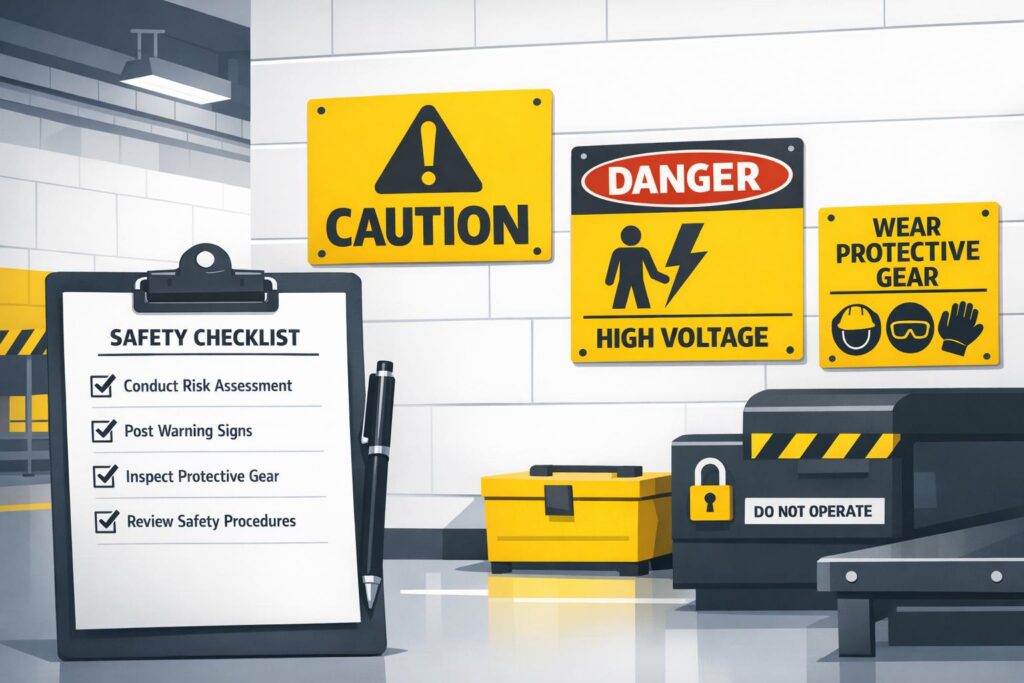
Staying compliant with standards like OSHA or ISO can feel overwhelming, but it doesn’t have to be. With a custom safety sign checklist, you’ll have a clear path to follow, complete with placement tips to maximise visibility. Take the first step towards a safer workplace today—try our tool and see the difference a tailored plan can make.
FAQs
How does this tool determine the right signage for my workplace?
Our planner uses a database built on common safety standards like OSHA and ISO. When you input details about your workplace type and hazards, it cross-references this info to suggest the most relevant sign types—think warning signs for electrical risks or emergency signs near exits. It’s not just a generic list; it’s tailored to what you’ve told us about your space.
Can I use this tool for multiple locations or zones?
Absolutely! You can input the number of zones or areas in your facility, and the tool adjusts the signage quantities and placement tips accordingly. If you’ve got multiple locations, just run the tool separately for each one to get a custom plan. It’s designed to be flexible for businesses of any size.
Is this signage plan enough to meet legal requirements?
This tool provides a solid starting point based on widely accepted safety guidelines, but laws can vary by region or industry. We recommend using the plan as a guide and checking with local regulations or a safety consultant to ensure full compliance. Think of it as your blueprint—you might still need to tweak it to fit specific rules.
You may also be interested in
FAQs About Workplace Safety Signs in Australia
AS 1319 sign types, placement, materials and maintenance for workplace safety and WHS compliance in Australia.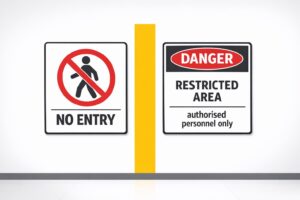
Restricted Area Signs vs. No Entry Signs
Compare No Entry and Restricted Area signs in Australian workplaces — meanings, design differences and AS 1319 compliance.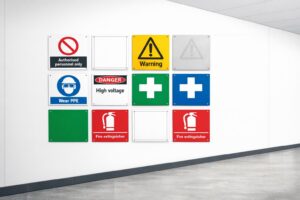
How to Spot Workplace Signage Gaps
Audit your workplace for missing, faded or non‑compliant signs under AS 1319 to reduce incidents and avoid WHS fines.
Symbol Design: Global Standards Explained
Explains ISO 7010 and ISO 3864: standard symbols, colours and sizing for clear, language‑free safety signage and AU compliance.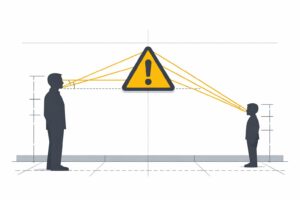
Hazard Sign Visibility Planner
Plan hazard sign placement for max visibility with our free tool. Ensure safety by finding the best spot, height, and angle—try it now!