How to Choose the Right Safety Signage for Your Site
Safety signage is more than just meeting compliance – it’s about protecting lives and reducing risks in the workplace. In Australia, safety signs must follow Australian Standard AS 1319, which ensures uniformity in design and placement. This guide breaks down how to identify workplace hazards, select the right signage, and ensure compliance with WHS laws.
Key Takeaways:
- 6 Types of Signs: Danger, Warning, Prohibition, Mandatory, Emergency Information, and Fire Safety signs each serve specific purposes.
- Hazard Assessment: Inspect your site thoroughly to identify risks like machinery, chemicals, or emergency routes.
- Material Selection: Use durable materials like aluminium or retro-reflective films for long-lasting visibility, especially outdoors.
- Placement & Maintenance: Position signs strategically at eye level, ensure visibility, and conduct regular inspections to keep them effective.
- Custom Signage: Tailor signs for unique hazards, multilingual needs, or temporary risks while ensuring compliance with AS 1319.
Safety Signage
Australian Safety Sign Standards Explained
In Australia, understanding the Work Health and Safety (WHS) framework is key to implementing effective safety signage. Each state and territory follows WHS laws based on a unified model, which places a legal duty on persons conducting a business or undertaking (PCBUs) to ensure safety signs are in place to warn workers and visitors about potential hazards.
At the heart of compliance lies Australian Standard AS 1319, which outlines the design requirements for workplace safety signs. This standard ensures consistency across industries, making signs easily recognisable no matter the location. It covers everything from colour schemes and shapes to symbols and text, creating a universal visual language that overcomes literacy and language barriers. This standard plays a critical role in maintaining uniformity in safety signage across Australia.
Failure to use compliant signage can lead to hefty penalties during inspections and significantly increases the risk of workplace accidents, potentially resulting in severe injuries, fatalities, and legal consequences. According to Safe Work Australia, safety signs are part of the hierarchy of controls, acting as an administrative measure to promote safer practices.
AS 1319 also addresses practical considerations like durability, visibility, and illumination. Signs must remain clear and functional throughout their lifespan, which means choosing the right materials and installation methods to suit the environmental conditions they’ll face.
6 Types of Safety Signs Under AS 1319
AS 1319 divides safety signs into six categories, each tailored for specific purposes and featuring distinct visual elements. Knowing these categories helps ensure you select the right sign for each situation.
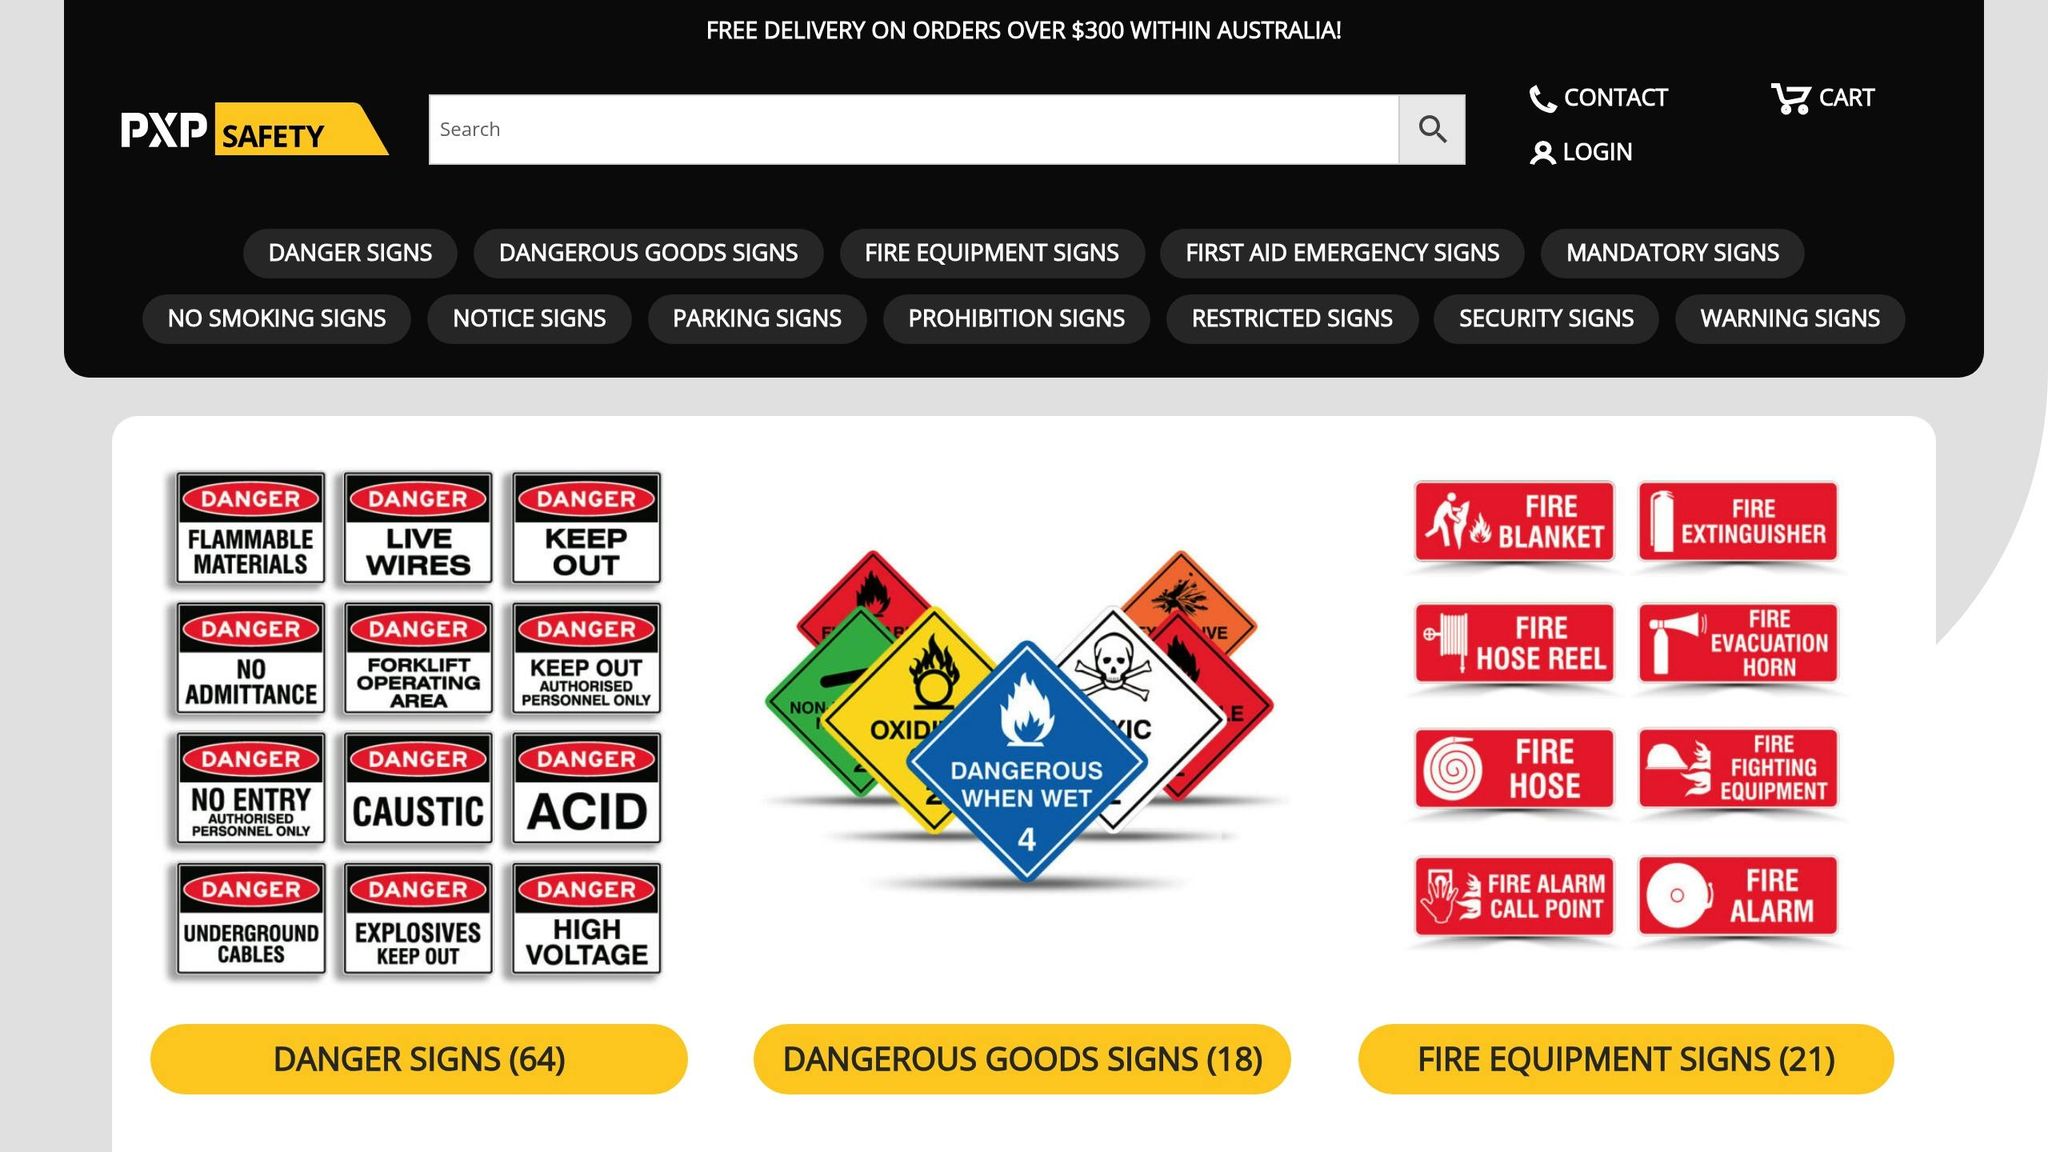
Danger signs are used to warn of immediate threats to life or health. Featuring a red oval on a white background with black text and icons, these signs are direct and leave no room for doubt. Examples include "Danger: High Voltage" or "Danger: Toxic Gas", often placed near high-risk areas like electrical equipment, confined spaces, or structural hazards.
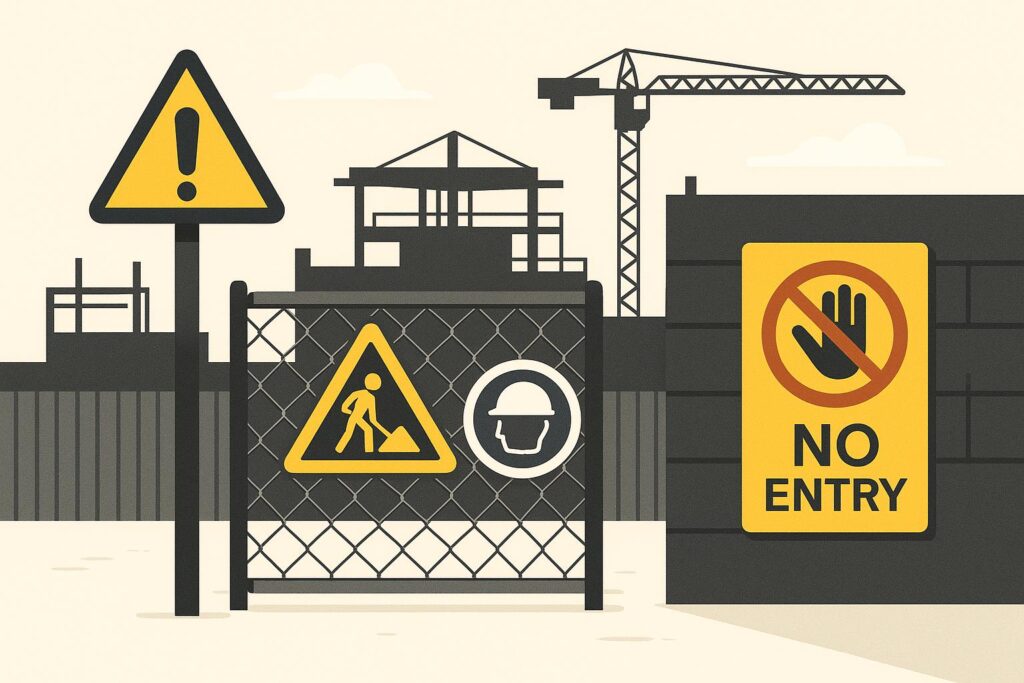
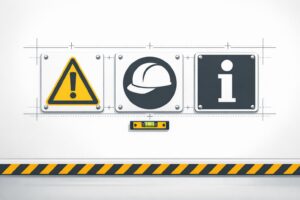
Warning signs highlight potential hazards that could cause injury if precautions aren’t taken. These yellow triangular signs with black borders and icons are commonly used for risks like slippery surfaces, overhead loads, moving machinery, or chemical storage. The yellow colour serves as a visual cue to proceed with caution.
Prohibition signs clearly indicate actions that are not allowed. They feature a red circle with a diagonal line on a white background and are often seen with messages like "No Smoking", "No Entry", or "Do Not Operate." These signs are vital in areas where specific behaviours could lead to fires, explosions, or equipment damage.
Mandatory signs specify actions that must be followed or personal protective equipment (PPE) that must be worn. These signs use a blue circular background with a white icon and are commonly seen with instructions like "Wear Hard Hat", "Hearing Protection Must Be Worn", or "Wash Hands." The blue colour distinguishes these signs from prohibitive red ones, clearly indicating required actions.
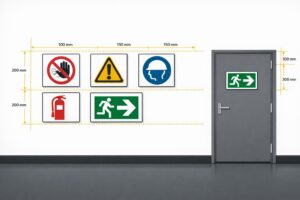
Emergency information signs provide directions to emergency equipment, exits, and assembly points. These green rectangular or square signs with white icons are designed to guide people to safety during emergencies. Examples include exit signs, first aid locations, or emergency showers. Many of these signs use photoluminescent or illuminated features to remain visible in low-light or smoke-filled conditions.
Fire safety signs identify the location of fire-fighting equipment and alarm points. These signs feature a red background with white text and icons, ensuring they stand out in emergencies. Common examples include markers for extinguishers, hose reels, fire blankets, and alarm call points. The high-contrast design ensures visibility even in smoky environments.
Each type of sign plays a role in a broader safety strategy. The specific colours and shapes are designed to prompt immediate recognition and appropriate action, especially in high-stress situations. Understanding these categories makes it easier to align hazards and safety requirements with the right signage for your site.
How to Assess Your Site’s Signage Needs
Before installing safety signs, it’s crucial to evaluate your workplace requirements thoroughly. This step ensures you avoid visual clutter from excessive signage while also preventing hazards from going unmarked. To get this right, you’ll need to systematically inspect your site, document potential risks, and align your findings with the legal obligations outlined in WHS legislation.
Getting input from a range of perspectives is key. Walk through your site with supervisors, safety officers, and workers who are familiar with the daily operations in different areas. They’re often the first to spot hazards that might be missed during a desk-based review. Their insights can help you account for variations in shifts, seasonal changes, and emergency situations, giving you a clear understanding of your workplace needs.
How to Identify Workplace Hazards
Divide your site into zones based on their function and activity. For example, manufacturing areas, storage spaces, office zones, loading docks, and outdoor areas all come with distinct risks. Assess each zone methodically and document any hazards you find.
- Physical hazards are often the easiest to spot. Look for machinery with moving parts, forklift traffic routes, elevated work platforms, overhead cranes, electrical equipment, and confined spaces. Don’t forget uneven surfaces, steps, low clearances, and areas prone to slips, trips, or falls. Warehouses may have additional risks, such as overhead lifting or unstable stacking.
- Chemical hazards need close attention. Examine storage areas, mixing stations, and waste disposal points. Consult your Safety Data Sheets (SDS) to classify substances like flammable liquids, corrosive materials, toxic gases, and oxidising agents, all of which require specific signage. Even seemingly minor risks, like cleaning products in staff areas, shouldn’t be overlooked.
- Environmental conditions can pose risks that change over time. For instance, outdoor areas may expose workers to heat stress during summer, while poorly lit corridors become more hazardous at night. Noise levels from machinery exceeding 85 decibels call for hearing protection zones, and areas with extreme temperatures, such as cold storage or near furnaces, need clear markings.
- Emergency equipment and exits must be carefully mapped. Walk through every evacuation route, checking where exit signs are required and ensuring they remain visible in low-visibility conditions, like smoke-filled spaces. Locate fire extinguishers, hose reels, first aid kits, emergency showers, and assembly points, ensuring all signage remains easy to spot.
- Traffic and pedestrian flows create collision risks. Map out vehicle routes for forklifts, trucks, and other service vehicles. Pay attention to intersections where pedestrians and vehicles cross paths, as well as blind corners and loading zones. Speed limits, generally 10–20 km/h in busy areas, should be clearly posted.
Document everything with photos and concise notes. Record the location, type of hazard, those affected, and how frequently the risk occurs. This documentation will guide your choice of signage and serve as evidence of due diligence during inspections.
Matching Hazards to Required Signage
Once you’ve documented all hazards, the next step is to match each risk with the appropriate signage. The AS 1319 standard provides a framework, but the specific application will depend on your site’s conditions.
- Danger signs are essential for hazards that pose an immediate threat to life. High-voltage electrical equipment, confined spaces requiring permits, toxic gas areas, and unstable ground all fall into this category. These signs should be placed at every approach to the hazard, ensuring they’re visible before anyone enters the danger zone.
- Warning signs are for hazards that require caution but aren’t immediately life-threatening. Examples include slippery floors, low-clearance doorways, areas with overhead lifting, and chemical storage for irritants. The yellow design signals the need for awareness, giving people time to adjust their behaviour.
- Prohibition signs are used to prevent actions that could trigger hazards. No smoking signs are mandatory near flammable materials, fuel storage, and oxygen supplies. Similarly, unauthorised entry signs protect workers from specialised equipment or hazardous areas. In explosive atmospheres or areas with sensitive equipment, no mobile phone signs are critical.
- Mandatory signs enforce the use of PPE and safe work practices. Hard hat zones are required beneath overhead work or in areas with risks of head injuries. Safety glasses are a must in workshops and laboratories, while hearing protection is needed where noise exceeds 85 decibels. High-visibility clothing is essential in areas with vehicle traffic or low light.
- Emergency information signs guide people to safety resources and exits. Every exit door should have clear signage, with directional signs along corridors pointing the way. Mark first aid rooms, kits, and trained responders, as well as emergency assembly points. Emergency showers and eyewash stations should also be clearly marked for quick identification.
- Fire safety signs identify fire-fighting equipment like extinguishers, hose reels, fire blankets, and alarm call points. These signs should be visible from at least 10 metres away. In large open spaces, add directional signs to guide people toward the nearest equipment.
Create a simple matrix linking each hazard to the required sign type, quantity, and location. This signage plan ensures nothing is missed and helps workers encounter signs in a logical sequence, building awareness as they approach hazards. General warnings should appear at entry points, with more specific signs closer to the risks.
Keep in mind that signage is an administrative control and sits low on the hierarchy of hazard management. It doesn’t eliminate risks or reduce exposure, so where possible, prioritise elimination, substitution, or engineering controls first. Signs should act as a reminder or backup, not a primary solution. This approach not only meets WHS requirements but also contributes to a safer workplace overall.
Choosing Durable and Visible Materials
Selecting the right materials is essential for ensuring your signs are easy to read, long-lasting, and meet regulatory standards.
Material Options for Australian Conditions
When it comes to outdoor use, aluminium panels combined with retro-reflective materials are a popular choice. These materials, such as retro-reflective films applied to aluminium or steel, adhere to the AS/NZS 1906.1 standard. Among these, Class 1 material stands out as the brightest and most resilient option [2]. For areas with low light, luminous materials like BradyGlo B-324 are a practical solution. They charge in just five minutes and can glow for more than ten hours, offering reliable visibility in dim conditions [2].
Factors Influencing Material Choice
When deciding on materials, consider these key factors:
- Visibility in low light: Increase the sign size by at least 50% for poorly lit areas. Place signs within the observer’s vertical line of sight and ensure they contrast with the background [1][3].
- Maintenance matters: Safety signs need to be clean, in good condition, and adequately lit to remain effective [1][3].
- Standards compliance: According to Australian Standard AS 1319-1994, the type of sign must suit its intended purpose [1][3].
sbb-itb-9950c92
Proper Placement and Maintenance of Safety Signs
Placing safety signs in the right spots and keeping them in good condition are key to ensuring workplace safety and meeting compliance requirements. Together, proper positioning and regular maintenance form the backbone of an effective safety signage strategy.
Where and How to Position Safety Signs
The placement of safety signs plays a critical role in their effectiveness. While Australian Standard AS1319-1994 doesn’t specify exact mounting heights, it stresses that signs must suit their intended purpose [3].
Start by ensuring your signs are easy to spot. Mount them at eye level against a contrasting background to enhance visibility [4]. For readability, symbols should measure at least 15 mm per metre of viewing distance, and uppercase text should be 5 mm per metre [3]. In areas with poor lighting, increase these sizes by 50%.
Place signs close to hazards like doors, exits, machinery, tanks, or containers. They should be high enough to avoid accidental damage but still within a worker’s natural line of sight. Consistency is also important – keep signs in fixed locations to help workers become familiar with their positions. Moving signs frequently can lead to confusion.
Avoid overcrowding any area with too many signs. If multiple signs are necessary, group related ones together – for instance, chemical warnings like Hazchem, GHS, and Emergency Information Panels – or PPE requirements. Keep unrelated signs separate to reduce the risk of information overload. Also, ensure signs aren’t blocked by materials, equipment, or other objects that might obscure them.
Regular Inspection and Maintenance Steps
After installing safety signs, regular inspections and upkeep are essential to maintain their visibility and compliance with Australian Standards and WHS regulations [1]. A structured maintenance routine helps catch issues before they become safety risks.
- Weekly: Conduct quick visual checks for damage, fading, or lighting problems, and clean the signs as needed.
- Monthly: Perform a deeper cleaning and inspect lighting components, such as bulbs or LEDs, replacing any that are dim or burnt out.
- Quarterly: Check for structural issues like loose fittings, corrosion, or general wear. For digital signs, ensure moving parts and software updates are functioning properly.
- Semi-Annually: Reapply protective coatings to outdoor signs to shield them from UV damage, rust, and weathering. Update digital content or repaint static signs if necessary.
- Annually: Carry out a thorough review to confirm signs still comply with current Australian Standards and remain relevant to any changes in the workplace.
If any signs are damaged or no longer compliant, address the issue immediately. This could mean making quick repairs, consulting professionals for more complex fixes, or removing signs that are no longer effective. Prompt action ensures that safety signage continues to serve its purpose.
Custom Safety Signage for Specific Site Requirements
Custom safety signage is essential for addressing unique workplace hazards that standard signs can’t effectively cover.
When Custom Safety Signs Are Needed
Some workplace situations demand customised signage to tackle specific risks and ensure compliance with safety regulations.
Unique or site-specific hazards often call for tailored solutions. For instance, a manufacturing facility with specialised machinery might need signs that outline specific lockout/tagout procedures unique to that equipment. Similarly, sites with unusual chemical storage setups or non-standard access points may require signage that reflects their specific layout and associated risks.
Multilingual workforce needs and precise PPE requirements are becoming increasingly relevant in Australian workplaces. Custom signs can include multilingual text and highlight specific PPE combinations, ensuring that safety instructions are clear to all workers, no matter their primary language. This approach eliminates confusion and provides precise guidance on the protective gear required in certain areas.
Consistency and branding are also key considerations for large organisations operating across multiple locations. Custom signs can incorporate company branding while maintaining consistent safety messaging. This not only reinforces a strong safety culture but also helps employees quickly identify familiar signage, even when moving between worksites.
Temporary or project-specific hazards often arise during construction, maintenance shutdowns, or renovation projects. These short-term risks require immediate and clear communication. Custom temporary signage can address these evolving challenges without the delays that come with ordering standard signs, which might not fully meet the situation’s needs.
PXP Safety offers tailored solutions for these scenarios, ensuring your workplace remains compliant and safe.
PXP Safety‘s Custom Sign Options
PXP Safety provides customised signage that meets Australian Standards and is built to endure tough site conditions.
These custom signs are made from durable aluminium, designed to withstand harsh UV exposure, coastal salt spray, and industrial chemicals. Using solvent outdoor printing combined with a UV protective film, the designs remain vibrant and legible over time. This method deeply bonds the ink into the material, making it resistant to fading, scratching, and weather damage. The protective film adds an extra layer of scratch resistance, which is particularly useful for signs placed in high-traffic areas or near moving machinery.
Customisation options include specific sizes, colours, and designs, all compliant with AS 1319 standards. You can specify exact dimensions to suit unique mounting locations, select colour schemes that enhance visibility in your environment, and incorporate custom graphics or symbols to address your particular hazards. The design process ensures all elements – such as symbol size and text height – align with readability standards and proper placement guidelines.
Planning ahead is crucial for custom orders, as lead times depend on the complexity of the design and the quantity needed. Simple adjustments, like adding bilingual text to an existing design, are processed faster than entirely new designs requiring custom graphics or layouts. Discussing your timeline early ensures that the signage integrates seamlessly into your overall safety strategy.
Custom signage works best as a complement to your existing safety sign system. Instead of replacing all standard signs, focus on areas where standard options fall short. This balanced strategy helps you make the most of your safety budget while ensuring every hazard is clearly communicated and easily understood by workers.
Conclusion
Choosing the right safety signage requires a careful balance between meeting regulatory requirements and addressing the practical needs of your workplace. A solid understanding of AS 1319 and the six main types of safety signs is the backbone of any successful signage plan.
Start by thoroughly assessing the specific hazards present at your site. Once these risks are identified, pair each hazard with the correct type of signage. This approach helps to minimise visual clutter while ensuring no danger goes unmarked.
Opt for materials designed to withstand Australia’s tough environmental conditions. This ensures your signs remain visible and intact over time, even in harsh weather.
Placement is key – signs must be positioned strategically and inspected regularly to ensure they remain effective. For situations where standard signage falls short, custom solutions are invaluable. Whether it’s addressing risks around specialised machinery, catering to multilingual teams, or managing temporary hazards on project sites, tailored signs provide clear and relevant guidance.
When chosen and maintained effectively, safety signage does more than just comply with AS 1319 – it actively enhances workplace safety. Through clear communication, durable materials, and regular upkeep, your signage can create a safer environment while showing genuine care for your team’s wellbeing.
FAQs
How can I make sure my safety signs meet Australian Standard AS 1319 requirements?
To make sure your safety signs align with Australian Standard AS 1319, they need to follow specific rules regarding their design, classification, and use in workplaces. This means using the right colours, shapes, symbols, and text for different types of signs, including Danger, Warning, Mandatory, Prohibition, Emergency Information, and Fire signs.
Key factors to consider include:
- Visibility: Signs should be easy to spot and read.
- Durability: Materials must be able to handle the conditions of your workplace.
- Placement: Position signs in locations where they will be most effective.
By meeting these requirements, you not only improve workplace safety but also ensure compliance with Australian workplace regulations.
What should I consider when selecting materials for outdoor safety signs in Australia?
When choosing materials for outdoor safety signs in Australia, focusing on durability and weather resistance is crucial to ensure they can handle the country’s diverse climate. Materials should offer UV resistance to guard against fading under the intense Australian sun and corrosion resistance to endure rain and salty coastal air.
Popular options include aluminium, valued for being lightweight and rust-proof; Colorbond, known for its sturdy build and weather-resistant coating; and Corflute, a budget-friendly choice suited for temporary signage. Picking the right material helps your signs stay visible, compliant, and effective for longer periods.
How do I identify the right safety signs for different areas in my workplace?
To choose the right safety signage for your workplace, begin by evaluating each area for possible hazards or risks. Take into account factors specific to your site, such as the level of foot traffic, the type of equipment in use, and the surrounding conditions. It’s crucial to follow Australian safety standards, which detail the appropriate types of signage and their placement for different scenarios.
When picking signs, focus on a few key aspects: they should be highly visible, tough enough to handle local weather or environmental conditions, and easy to understand. In some cases, customised signs might be needed to address particular workplace needs. Make it a habit to review and update your signage regularly to ensure it stays effective and meets compliance requirements.
Related Blog Posts
You may also be interested in
FAQs About Workplace Safety Signs in Australia
AS 1319 sign types, placement, materials and maintenance for workplace safety and WHS compliance in Australia.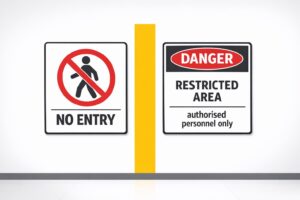
Restricted Area Signs vs. No Entry Signs
Compare No Entry and Restricted Area signs in Australian workplaces — meanings, design differences and AS 1319 compliance.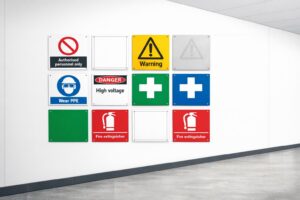
How to Spot Workplace Signage Gaps
Audit your workplace for missing, faded or non‑compliant signs under AS 1319 to reduce incidents and avoid WHS fines.
Symbol Design: Global Standards Explained
Explains ISO 7010 and ISO 3864: standard symbols, colours and sizing for clear, language‑free safety signage and AU compliance.
Hazard Sign Visibility Planner
Plan hazard sign placement for max visibility with our free tool. Ensure safety by finding the best spot, height, and angle—try it now!