High-Risk Areas vs Low-Risk: Signage Needs
Safety signage is a legal requirement in Australian workplaces under the Work Health and Safety (WHS) Regulations 2011. Proper signage reduces risks, prevents injuries, and ensures compliance with AS 1319-1994, the standard governing design, placement, and durability of workplace signs. Ignoring these rules can result in penalties of up to AU$150,000 for corporations and AU$30,000 for individuals.
Key points:
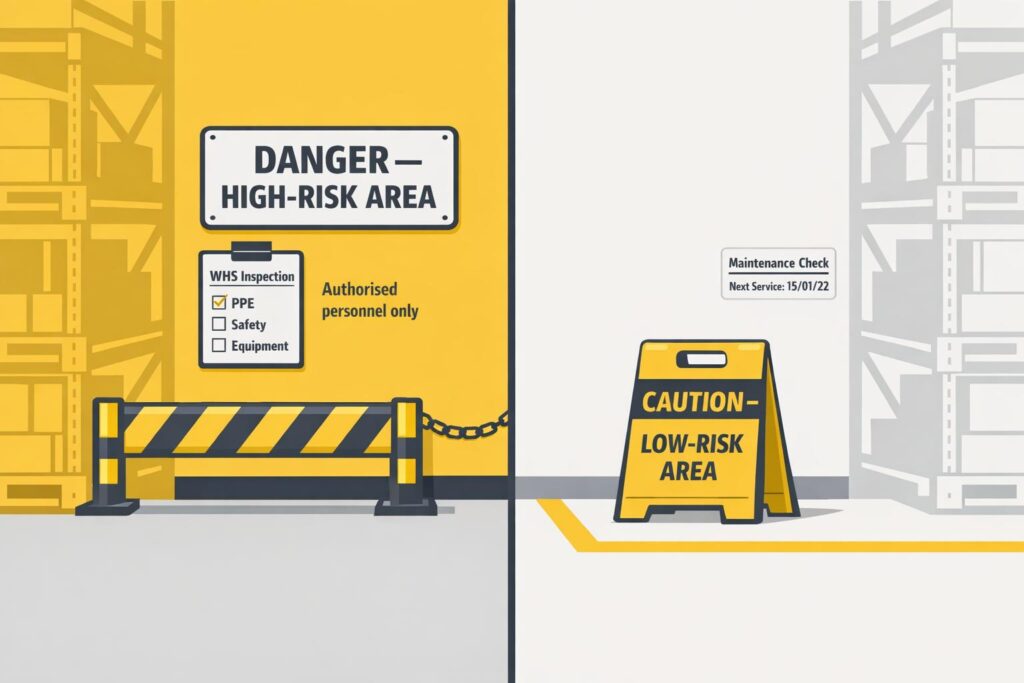
- High-risk areas (e.g., machinery zones, chemical storage) require red danger signs to warn of life-threatening hazards.
- Low-risk areas (e.g., offices, walkways) use yellow caution signs to highlight minor risks.
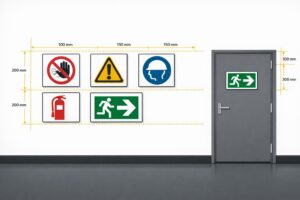
- Signs must be placed at eye level (1.5–1.7 m) and made from durable materials like aluminium with UV-resistant coatings to withstand Australia’s harsh conditions.
- Regular inspections (every six months) and timely replacements (2–5 years) ensure effectiveness.
Statistics show that workplaces updating signage to meet standards saw a 25% reduction in incidents. Proper signage isn’t just about compliance – it’s about protecting workers and reducing costs from workplace injuries.
Safety Signs in Australia
sbb-itb-9950c92
Signage Requirements for High-Risk Areas
High-risk areas, such as chemical storage zones, confined spaces, or locations with heavy machinery, require signage that not only grabs attention instantly but also withstands tough conditions. These signs must adhere to strict Australian standards as outlined by WHS regulations, ensuring worker safety and legal compliance.
Danger Signs and Compliance Standards
Danger signs are designed with a red background, white symbols, and bold text to highlight extreme hazards. According to the AS 1319-1994 standard, these signs must have a red header and white symbols, often accompanied by pictograms like skulls or exclamation marks inside triangles. These elements make it easy to understand the hazard at a glance. Examples include signs such as "DANGER: CONFINED SPACE – PERMIT REQUIRED" for enclosed areas or "DANGER: CRUSH ZONE – KEEP CLEAR" for machinery zones.
Under AS 1319, the red danger classification is reserved strictly for hazards that pose an immediate risk of death or serious injury, setting them apart from yellow caution signs used for less critical risks. Failing to comply with these standards can result in severe penalties, with fines for corporations reaching up to AU$300,000. A 2021 study of 50 Australian sites found that proper use of danger signage reduced hazard-related incidents by 28% [1].
To ensure these signs are effective, their design is just one part of the equation – placement and material durability are equally critical.
Placement and Material Durability
For maximum visibility, signs should be installed at eye level (1.5–1.7 m above ground) at all access points to high-risk zones and within 2–5 m of the hazard. In larger areas, multiple signs may be necessary to ensure they can be seen from various angles. In confined or poorly lit spaces, photoluminescent signs can provide visibility even during power outages.
Australia’s harsh environmental conditions, including intense UV exposure, high temperatures (up to 50°C), coastal salt spray, and industrial dust, can quickly degrade inferior signage. To withstand these challenges, AS 1319 recommends aluminium substrates at least 1.5 mm thick, paired with UV-resistant laminates and outdoor-grade printing. These materials can last over 10 years in tough environments. Regular inspections every six months help identify signs that may have faded or warped, with replacements typically required every 2–5 years for outdoor installations. Anti-graffiti coatings can also be applied to protect signs in areas prone to vandalism.
Signage Requirements for Low-Risk Areas
Low-risk areas like office lobbies, walkways, shopping centres, airports, and kitchens might not pose immediate dangers like confined spaces or machinery zones, but they still need proper signage to minimise minor injuries and raise awareness of everyday risks.
Caution and Warning Signs
In these environments, caution signs – with their yellow backgrounds and black text or symbols – are the go-to option. They are easy to recognise and help alert people to potential risks that could cause minor or moderate injuries, such as slips, sprains, or temporary discomfort. Common examples include signs for wet floors, slippery surfaces, or low-hanging objects.
Understanding the difference between caution and warning signs is essential. As New Signs explains:
Misusing a caution sign where a warning sign is required isn’t just lazy, it’s dangerous.
While caution signs address non-lethal risks like hot surfaces or wet floors, warning signs – marked by orange triangles – are meant for more serious hazards that could lead to major injuries or even fatalities. According to Safe Work Australia‘s WHS laws, using the correct signage is a key part of identifying hazards and ensuring workplace safety.
Correct placement of these signs is just as important as choosing the right type.
Balanced Signage Coverage
Once you’ve selected the appropriate sign, placing it strategically is crucial to ensure it does its job. Signs need to be positioned where the hazard is present, and they must be clearly visible. As New Signs points out:
Visibility is non-negotiable: Signs must be placed where the hazard exists – at eye level, unobstructed, and well-lit.
In offices and walkways, signs should never be hidden by furniture, equipment, or architectural features. They also need to be in well-lit areas to maintain their visibility. Regular inspections are necessary to ensure that signs remain in good condition – faded or damaged signs can compromise safety and even affect insurance claims.
Finally, staff training is important to help employees understand the difference between caution and warning signs. For equipment-related risks, signs should be placed as close as possible to the machinery or area of concern to ensure everyone is aware of potential dangers.
High-Risk vs Low-Risk Signage Comparison
High-Risk vs Low-Risk Workplace Signage Requirements Comparison
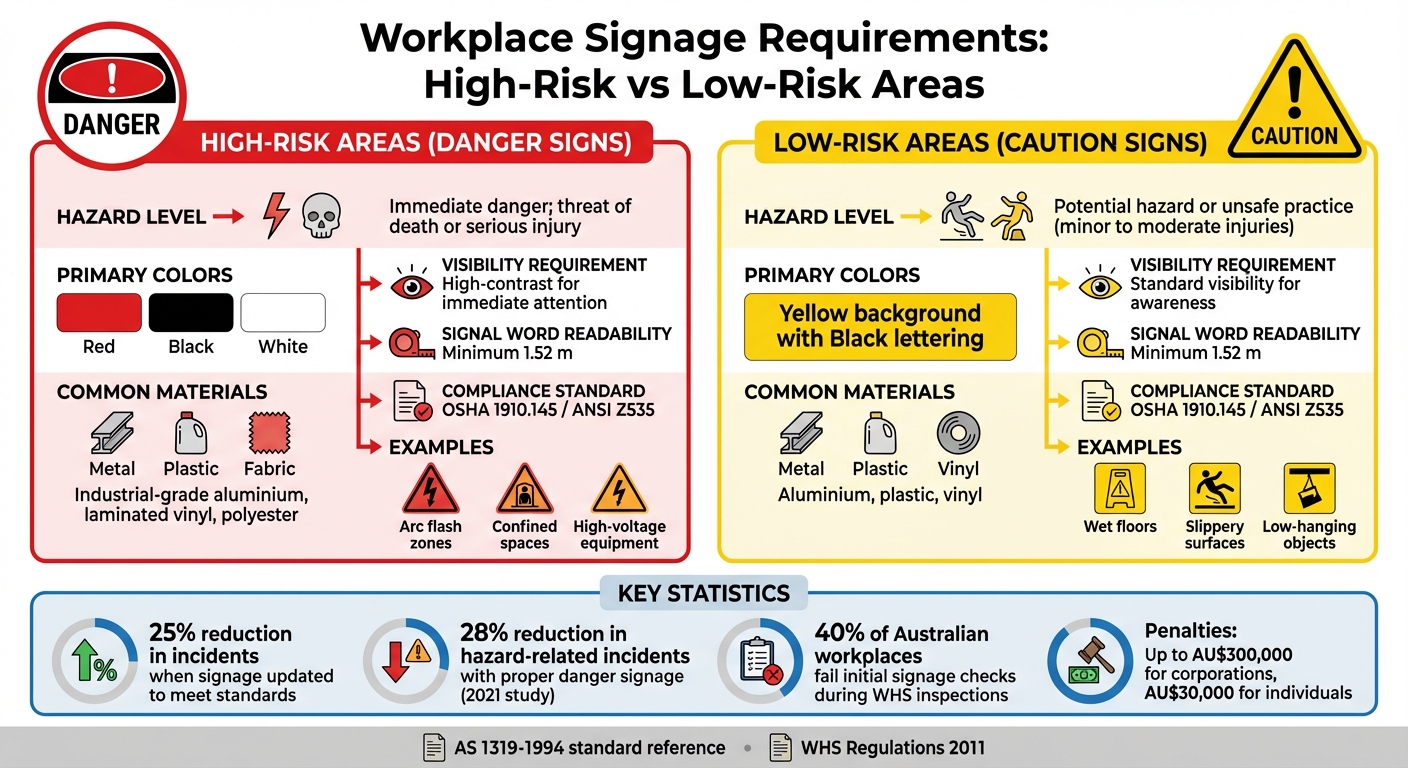
When it comes to Workplace Health and Safety (WHS) compliance, the design and material of signage play a critical role in ensuring hazards are recognised immediately. Understanding the differences between high-risk and low-risk signage goes beyond appearances – it’s about protecting workers from serious harm. High-risk signs indicate situations that, if ignored, could result in severe injury or death, while low-risk signs warn of potential hazards that might cause minor to moderate injuries [4].
High-risk signs are designed with a bold red, black, and white colour scheme to demand attention. These are typically used in areas with immediate dangers, such as arc flash zones, confined spaces, or high-voltage equipment [3]. On the other hand, low-risk signs feature a yellow background with black lettering and panels, serving as a warning of less severe hazards [3].
The materials used also differ. High-risk signage often employs industrial-grade aluminium for durability, while low-risk signs may use adhesive vinyl or polyester, which are more lightweight and cost-effective [4]. Both types, however, must have smooth, rounded edges to avoid causing secondary injuries [3].
Signage Characteristics Comparison Table
| Feature | High‑Risk Areas (Danger Signs) | Low‑Risk Areas (Caution Signs) |
|---|---|---|
| Hazard Level | Immediate danger; threat of death or serious injury [3] | Potential hazard or unsafe practice [3] |
| Primary Colours | Red, Black, and White [3] | Yellow background with Black lettering [3] |
| Visibility Requirement | High‑contrast for immediate attention [3] | Standard visibility for awareness [3] |
| Signal Word Readability | Minimum 1.52 m [3] | Minimum 1.52 m [3] |
| Common Materials | Industrial‑grade aluminium, laminated vinyl, polyester [4] | Aluminium, plastic, vinyl [4] |
| Compliance Standard | OSHA 1910.145 / ANSI Z535 [2][3] | OSHA 1910.145 / ANSI Z535 [2][3] |
Both types of signs must adhere to the same readability requirements, ensuring that signal words are legible from at least 1.52 metres away [3]. This ensures that workers can quickly and clearly understand the nature of the hazard, regardless of its severity.
Creating a Signage Plan for Your Workplace
Conducting a Risk Assessment
To create an effective signage plan, start by conducting a thorough risk assessment. Map out your workplace layout, noting every work area and activity. Walk through the site with experienced team members to uncover hazards that might not be immediately obvious. Document risks such as machinery, chemicals, heights, electrical equipment, and potential slip hazards.
Once hazards are identified, categorise areas by their level of risk. High-risk zones often include manufacturing areas with heavy machinery, chemical storage, electrical rooms, and spaces with fall hazards. These areas require danger signs that meet the colour and design standards outlined in Australian safety regulations. On the other hand, lower-risk spaces like offices, break rooms, or general storage areas are better suited to caution signage. Interestingly, Safe Work Australia has found that 40% of Australian workplaces fail their initial signage checks during WHS inspections [1].
Compile a risk report that includes a detailed signage inventory, specifying the types of signs needed and their exact locations. Add a site map to visually outline where each sign will go. This documentation not only ensures compliance but also serves as evidence of proactive workplace safety measures. Update your signage plan annually or whenever changes occur, such as new equipment, altered processes, or facility upgrades, to keep it relevant and effective.
Using PXP Safety for Compliant Signage

After completing your risk assessment and identifying your signage needs, the next step is selecting durable and compliant materials. Given Australia’s challenging climate, it’s essential to choose signs that can withstand UV exposure, moisture, and temperature extremes. PXP Safety offers solutions tailored to these conditions, using aluminium signs with UV-protective printing and materials designed for outdoor durability.
PXP Safety provides both high-risk danger signs and low-risk caution signs that comply with AS 1319-1994 standards. Their aluminium signs, paired with a UV-protective film, are built to last, even in harsh outdoor environments. Additionally, their custom sign options allow you to address specific hazards unique to your workplace. When installing signage, ensure it is placed at eye level (1.5–1.8 m) and remains unobstructed for maximum visibility and effectiveness.
Conclusion
Choosing the right signage for high-risk and low-risk areas goes beyond ticking compliance boxes – it’s about fostering a safer workplace where hazards are immediately recognisable, and appropriate actions can follow. Danger signs with red backgrounds and bold lettering highlight life-threatening risks that demand strict safety measures. Meanwhile, caution signs with yellow backgrounds draw attention to moderate hazards that require vigilance. This clear visual hierarchy helps workers quickly gauge risk levels, especially in high-stakes environments.
In workplaces with diverse cultural backgrounds, where English proficiency may vary, standardised symbols and colour coding become essential. Red indicates prohibition, yellow signals caution, blue denotes mandatory actions, and green is used for emergency information. This universal visual language ensures clarity, regardless of language barriers.
Durability is another key factor. Aluminium composite panels with UV-protective coatings are ideal for withstanding Australia’s harsh weather, ensuring signs remain legible over time. Temporary hazards can be addressed using portable signs, while permanent risks should have wall-mounted signs positioned at eye level (1.5–2 m) for maximum visibility.
To keep your signage effective, conduct regular risk assessments. Update signs when new equipment, processes, or expansions occur. Frequent reviews and team discussions can also help prevent ‘sign blindness’ and reinforce the importance of each colour and symbol in maintaining workplace safety.
FAQs
How do I decide if an area is high-risk or low-risk?
To determine whether an area is high-risk or low-risk, it’s essential to evaluate the hazards and potential dangers present.
High-risk areas are those where serious threats exist, such as exposure to hazardous chemicals, high-voltage equipment, or heavy machinery. These spaces must have clear and visible danger signs to alert people of the risks.
On the other hand, low-risk areas involve minimal hazards, like general walkways or storage spaces. These typically require caution signs to encourage safe behaviour.
Carrying out a thorough hazard assessment is crucial for meeting Australian safety standards and ensuring that signage is placed correctly.
What’s the difference between danger, warning, and caution signs?
The main difference between these signs is the level of risk they signal. Danger signs point to life-threatening hazards that demand immediate attention. Warning signs alert people to serious risks that could result in significant injuries if not addressed. Meanwhile, caution signs focus on lower-risk hazards that might cause minor injuries or discomfort. These signs play a key role in workplace safety by ensuring clear communication, guiding proper actions, and meeting safety regulations.
What should I do if a sign is faded, damaged, or out of date?
If a sign becomes faded, damaged, or contains outdated information, replacing it is crucial for maintaining compliance, visibility, and safety. While minor issues like scratches or dirt can often be fixed with simple repairs or cleaning, signs showing significant wear or displaying incorrect details should be replaced. This ensures they continue to serve their purpose effectively and align with workplace safety standards.
Related Blog Posts
You may also be interested in
FAQs About Workplace Safety Signs in Australia
AS 1319 sign types, placement, materials and maintenance for workplace safety and WHS compliance in Australia.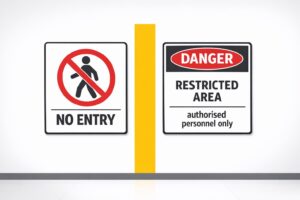
Restricted Area Signs vs. No Entry Signs
Compare No Entry and Restricted Area signs in Australian workplaces — meanings, design differences and AS 1319 compliance.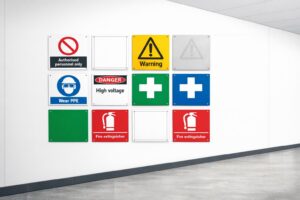
How to Spot Workplace Signage Gaps
Audit your workplace for missing, faded or non‑compliant signs under AS 1319 to reduce incidents and avoid WHS fines.
Symbol Design: Global Standards Explained
Explains ISO 7010 and ISO 3864: standard symbols, colours and sizing for clear, language‑free safety signage and AU compliance.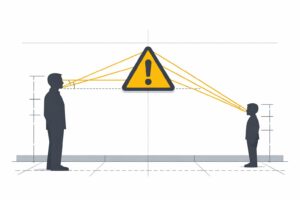
Hazard Sign Visibility Planner
Plan hazard sign placement for max visibility with our free tool. Ensure safety by finding the best spot, height, and angle—try it now!